Singer Freestyle Electronic
- Maggi Bloice

- Jun 11, 2017
- 3 min read

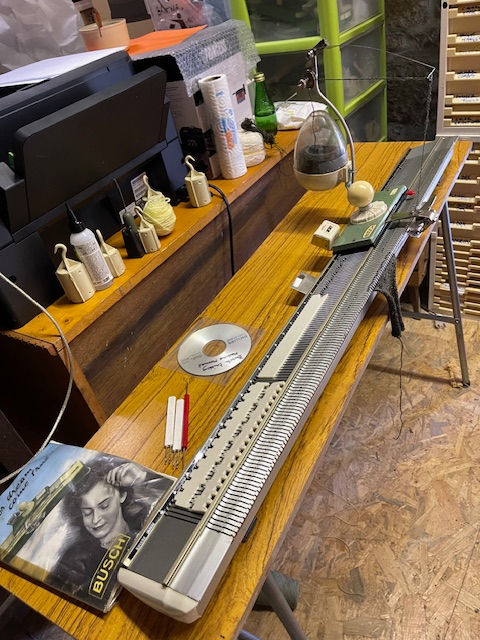
Singer Memo 11 or Singer Freestyle.
This is an extremely lightweight machine but sophisticated with it. I can well understand why it is loved by those dedicated Singer/ Superba users. If physical strength is not your forte, it offers a solution to pushing heavy carriages and with the addition of a small Singer motor attached, even better.
The Singer/Superbas are fine electronics and are still reasonably priced even today! The programming of the Freestyle is simple enough to understand as long as you follow the instructions and only takes minutes. The graphs are maximum size of either 12 x 16 or alternatively 16 x 12 and believe it or not you can produce some lovely designs using a functions board that offers a choice of mirror image, double length etc etc - check out the fabulous Superba website - run by Patrick Madden, for a dedicated expert’s view of the whole range of these fine machines.
http://www.superbaknitting.com/
Now I have a few of them but as a basically lazy knitter ie do not like punching cards and prefer the electronic method of downloading designs using DesignaKnit, I had to find a quick and easy way of producing these little graphs on the computer and this I have done but to be honest it only takes minutes to draw them out - you only need a pencil as the marks are for your own use to use the curser tool (ie fine plastic pointed tool included in the toolkit of this machine) me, I am such an idiot, cause I thought they were talking about the cursor on a computer. Of course there are loads of patterns already included with the machine so plenty to play with meantime.
Programming Sequence

The programming sequence on the machine has to be followed to the letter or else you will end up shouting at it - its always operator error never in this case the fault of the onboard electronics as I have found out in the last couple of days. Once you insert your design, you then push the button F for functions and key in the width, using the tool - its done via a very simplified system and I must confess the instruction manuals are clear and concise but you know me, I never read and instruction manual if I can help it and in this case it did not pay off, the next step is to key in the height of the pattern, The next function is to use the cursor to sort of press the paper pattern on the black squares, line by line. then for a basic pattern its all systems go - that is once you have pressed the start key and keyed in the position of your cursor after the pattern has been entered. The symbols on the Singer keyboard are not self explanatory so its essential that you study the manual carefully. If you do not follow the correct procedure it does nowt.
My major errors were for a start, placing in the paper pattern, pressing the functions key and the start button but forgetting to press in the pattern, ie load the pattern, or not threading up the fairisle carriage, or not pressing the start button, or not setting the cursor on the machine to tell it where to start the pattern from - I could go on and on. So my next job is to make an idiot proof sheet of instructions to follow so with a bit of luck it takes me 5 minutes to programme the machine instead of an hour (or two).
Easy to make programme sheets

The best thing I did was to make myself a little sheet at the correct size on a desktop publishing programme so that I had the pattern graph, then I was able to fill in the squares - and then print them out and slip them in - what a difference it made to me, I could then see clearly where to press the cursor without peering and wondering if I was pressing the right part of the graph (you will have guessed my eyesight aint what it used to be). I had designed a couple and it was then easy to alter them to suit.
Overall this is a cracking machine and of course you must not forget the all the other fine pointers such as jacquard, tuck, slip stitch, and of course its a great machine for rib and the only standard gauge machine I have ever seen on the domestic front that has a bed space facility to accommodate those thicker yarns. This machine produces very fine knitwear. Finally, my grateful thanks to the couple who donated this nearly new machine to the Knitting Machine Museum, it will be well looked after.


Comments